
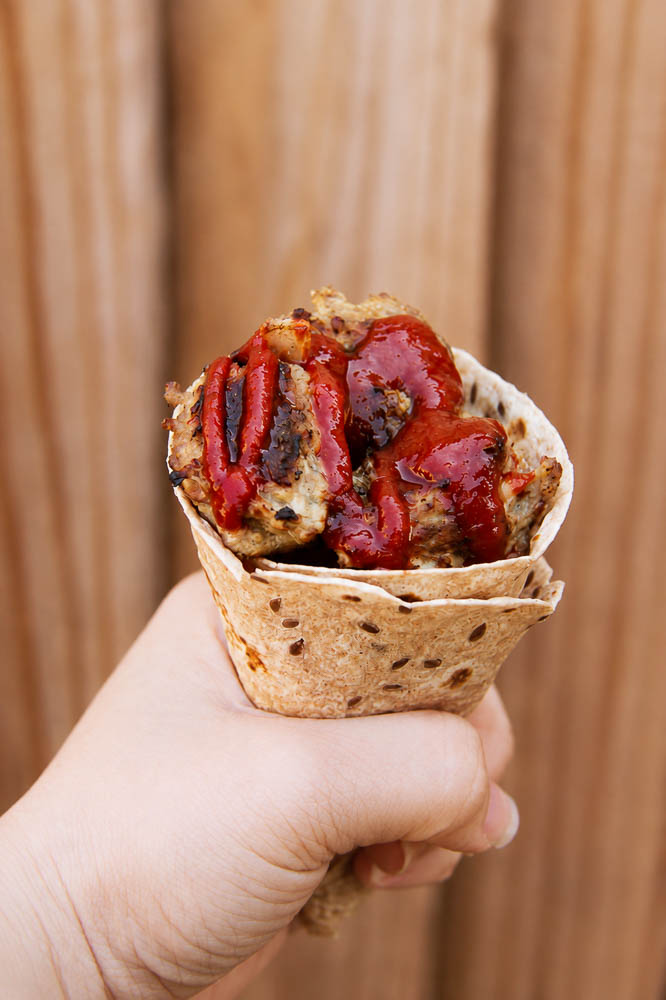
These easy burger cones turn classic burgers into a fun handheld meal that’s perfect for picnics, BBQs, lunch boxes, and summer gatherings. Less mess, easy to carry, and always a conversation starter.
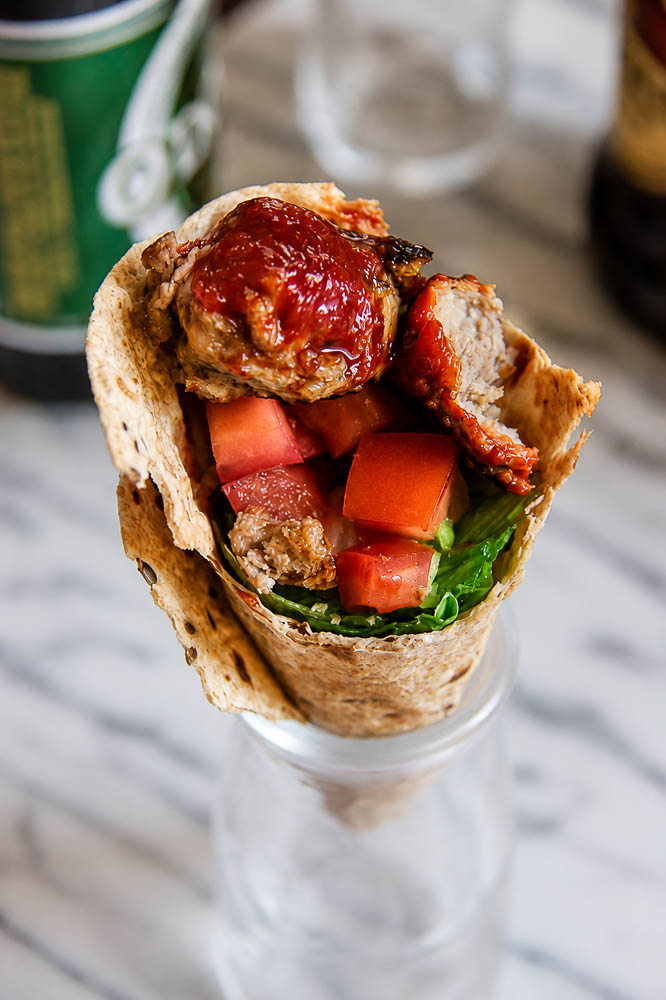
Burgers are already one of the easiest meals to bring outdoors. But what if they were even easier to hold? That’s exactly why I love these burger cones.
Instead of serving burgers on buns, everything gets tucked neatly inside a crispy ice cream cone. It looks unexpected, makes everyone smile, and is surprisingly practical for picnics, backyard BBQs, and family gatherings.
Don’t worry. Despite the name of the cone, there’s no ice cream involved. Just juicy burgers, your favorite toppings, and a fun presentation that both kids and adults love.
Why You’ll Love These Burger Cones
Sometimes it’s not about changing the recipe. It’s simply about changing how you serve it.
Burger cones are:
- Fun for kids and adults alike
- Easier to hold than traditional burgers
- Great for picnics and outdoor parties
- Perfect for BBQ season
- Easy to customize with your favorite toppings
- Less messy than oversized burgers
They’re also one of those recipes that instantly gets people asking,
“Wait…how did you make these?”
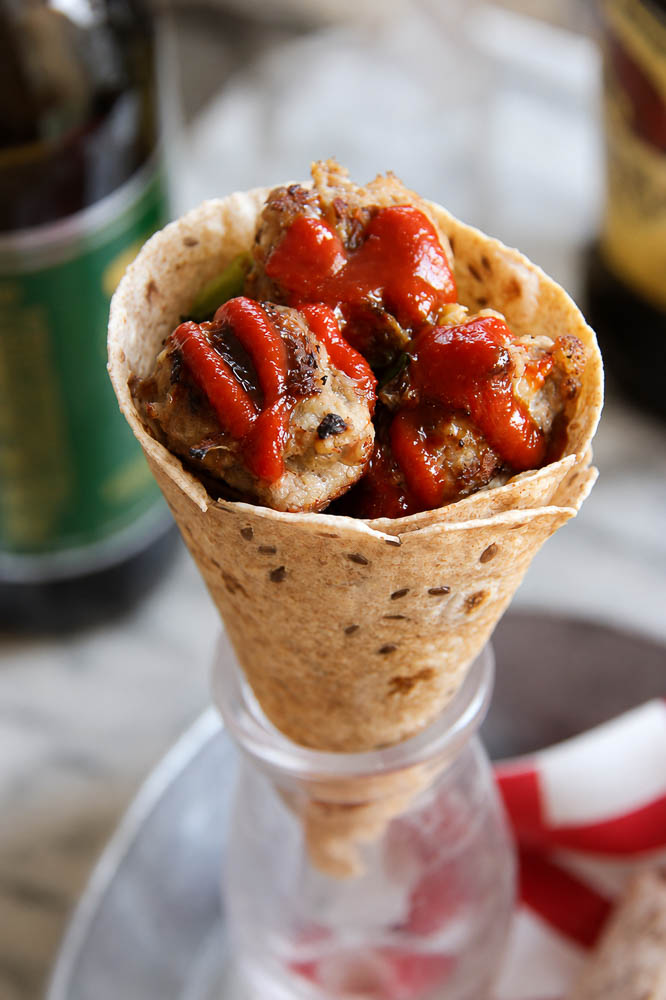
Perfect for Summer Picnics
One of my favorite things about summer is eating outside. Whether it’s at a neighborhood park, the beach, or your own backyard, simple foods always win.
Burger cones travel surprisingly well because everything stays tucked inside the cone. Wrap each one in foil, pack them into a cooler, and they’re ready to enjoy whenever lunchtime rolls around.
Cleanup is easier too, which is always a bonus when you’re eating outdoors.

Easy Ways to Customize Them
The fun part is making each burger cone a little different.
Try adding:
- cheddar or pepper jack cheese
- caramelized onions
- grilled mushrooms
- crispy bacon
- avocado
- jalapeños
- barbecue sauce
- spicy mayo
- garlic aioli
Or let everyone build their own burger cone at your next cookout. It’s like a burger bar, only much more fun.
Tips for Success
A few simple tricks help these come together perfectly.
- Use flat-bottom ice cream cones so they stand upright.
- Let the burger filling cool slightly before assembling to keep the cone crisp.
- Don’t overfill the cones or they’ll become difficult to eat.
- Wrap each cone in foil if you’re serving them later or packing them for a picnic.
Make Ahead
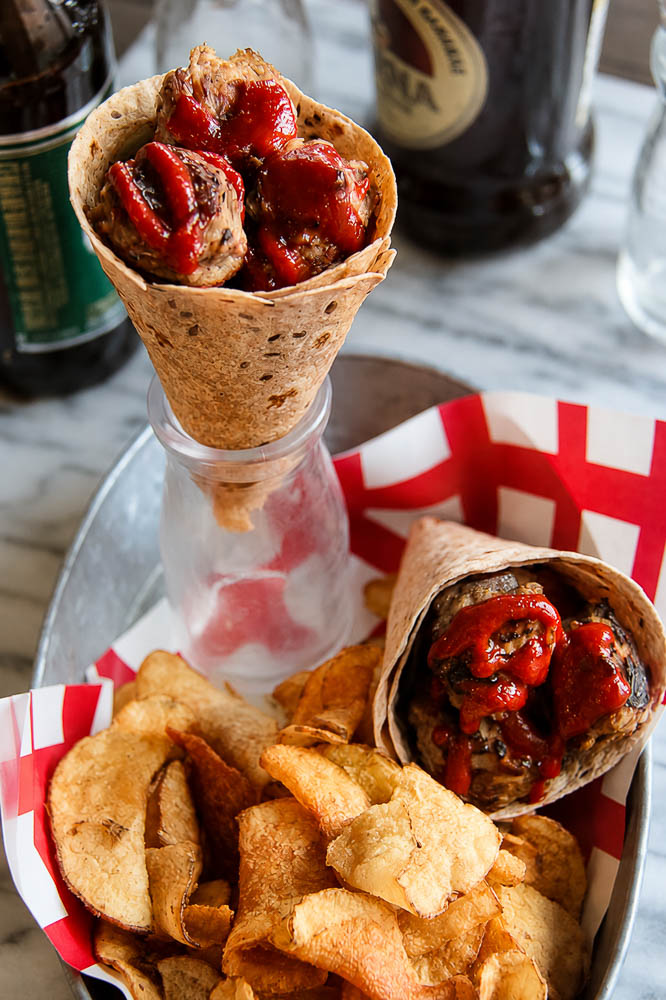
You can prepare the burger filling a day in advance and refrigerate it until you’re ready to assemble. For the best texture, fill the cones just before serving so they stay crisp.
Variations
Once you make these once, you’ll probably start thinking of new fillings. Some fun ideas include:
- Cheeseburger cones
- BBQ pulled pork cones
- Taco cones
- Philly cheesesteak cones
- Buffalo chicken cones
- Sloppy Joe cones
- Breakfast cones with scrambled eggs and sausage
The possibilities are endless.

Frequently Asked Questions
Can I make burger cones ahead of time?
Yes. Prepare the filling ahead of time, then assemble shortly before serving so the cones stay crunchy.
What kind of cones should I use?
Flat-bottom ice cream cones work best because they’re sturdy and can stand upright.
Can kids help make them?
Absolutely. Older kids can help fill the cones and choose their favorite toppings.
Can I bake them?
Yes. After filling the cones, you can briefly warm them in the oven if you want the cheese to melt.
A Little Catch-Up Before You Go
Sometimes the most memorable recipes aren’t the most complicated.
They’re simply the ones that make people smile.
These burger cones are fun, easy to customize, and perfect for everything from summer picnics to backyard cookouts. If you’re looking for a creative way to serve burgers this season, give them a try. They might just become your new family favorite.
More Fun Summer Recipes
- Frozen Graham Cracker Sandwiches
- Brown Sugar Milk Tea Popsicles
- Strawberry Coconut Popsicles
- White Chocolate Mocha Popsicles
- Chocolate Ice Cream
- Tempura Fried Ice Cream
- Ice Cream Rolls
- Avocado Popsicles
Burger Cones
Ingredients
- Tortilla Cones
- 8 burrito-size flour tortillas
- 4 waffle cones or foil cones used as molds
Burger Meatballs
- 1 tablespoon olive oil
- 1 cup finely diced red onion
- 1 pound ground beef * or substitute ground chicken or turkey*
- 1 large egg
- ½ cup panko breadcrumbs
- 2 tablespoons Worcestershire sauce
- 1 tablespoon ketchup
- 1 teaspoon garlic powder
- 1 teaspoon kosher salt
- ½ teaspoon black pepper
To Assemble
- 2 cups shredded lettuce
- 2 tomatoes diced
- Ketchup
- Mustard
- Sriracha optional
- Pickles diced (optional)
- Shredded cheddar cheese optional
Instructions
Make the Tortilla Cones
- Preheat the oven to **325°F (163°C).**
- Cut each tortilla in half crosswise. Roll each half into a cone shape, overlapping the edges slightly. Place each tortilla inside a waffle cone or wrap it around a foil cone to help hold its shape.
- Bake for **4 to 5 minutes**, or until lightly golden and crisp.
- Carefully remove the tortilla cones and let cool completely.
Prepare the Burger Meatballs
- Heat the olive oil in a skillet over medium heat.
- Add the diced onion and cook for **3 to 4 minutes**, until softened. Remove from the heat and let cool slightly.
- In a large bowl, combine the cooked onion, ground beef, egg, panko, Worcestershire sauce, ketchup, garlic powder, salt, and pepper. Mix just until combined.
- Using a small cookie scoop or tablespoon, roll the mixture into bite-sized meatballs.
- Heat a lightly greased skillet over medium heat and cook the meatballs for **8 to 10 minutes**, turning occasionally, until browned on all sides and cooked through.
Assemble the Burger Cones
- Fill each tortilla cone with shredded lettuce.
- Add a few diced tomatoes, followed by 3 to 4 burger meatballs.
- Drizzle with ketchup, mustard, Sriracha, or your favorite burger sauce.
- Top with pickles or shredded cheddar cheese, if desired.
- Serve immediately.
Notes


Leave a Reply